
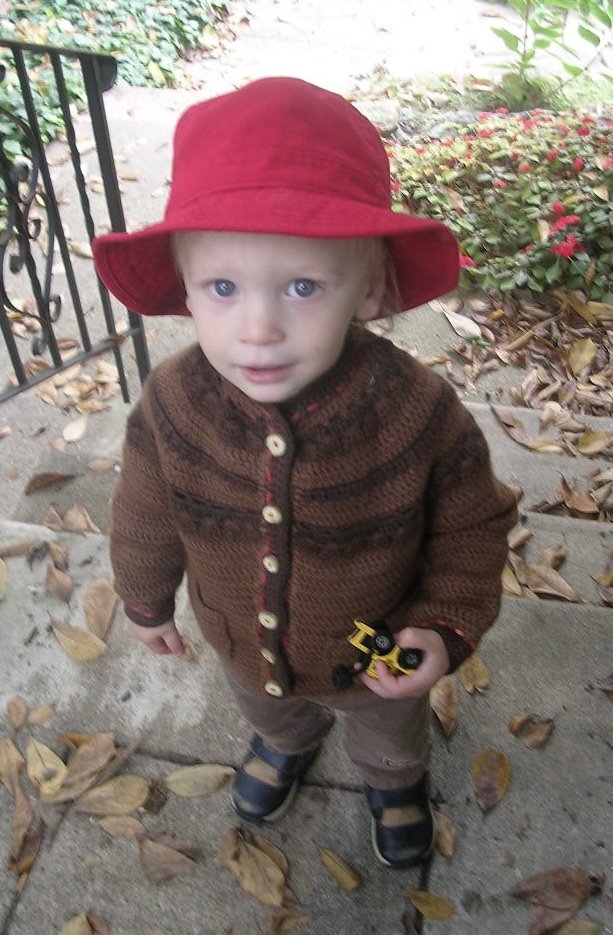
31 October 2006
warning
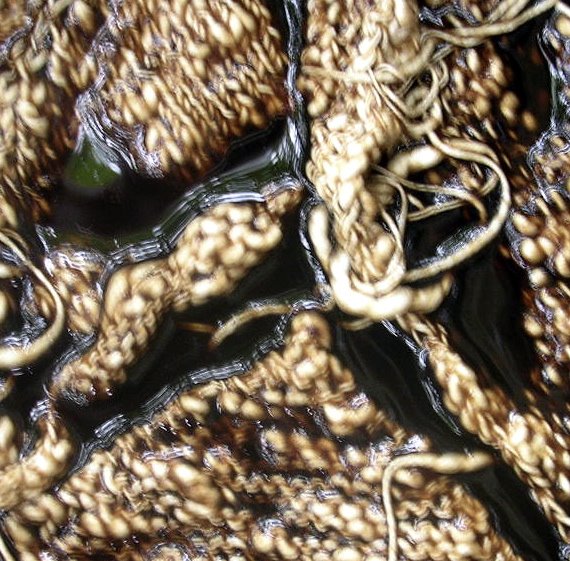
Keep away from the black walnut pot. (This means you!) Happy Halloween!
 Happy Halloween!
27 October 2006
oliphaunt
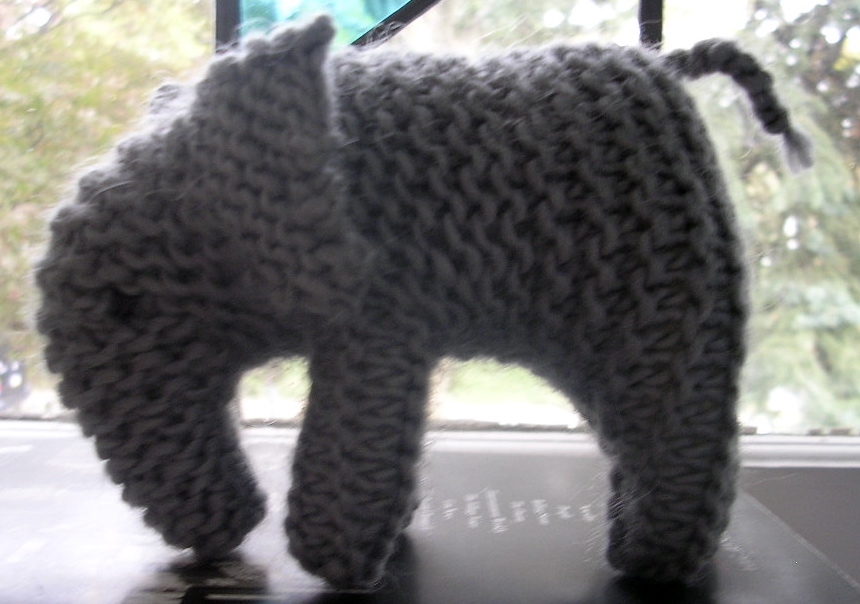 a knitted elephant
Here's another pattern that makes its way from knitter to knitter at my son's school. I've retooled it for you here. I most often use Lamb's Pride, but it looks great small in a lighter weight yarn and big using two different shades of gray LP held together. Of course, a Kureyon elephant would be very cool.
MATERIALS: worsted weight wool yarn, size US4 or 5 needles, wool or poly stuffing, short lengths of yarn for embroidering eyes and for crocheting tusks (if desired)
STITCH: Knit every row.
PATTERN: (The elephant's rear legs and behind are the cast-on edge and you make your way up to the trunk from there by knitting the whole body as one piece. See the photo of an unsewn elephant below.) Cast on 36 stitches. Knit 10 rows. Cast off 4 stitches at the beginning of the next 2 rows (28 stitches remain). Knit 2 rows. Decrease 1 stitch at the start of the next 8 rows by knitting the first 2 stitches of each row together (20 stitches remain). Cast on 8 stitches at the start of the next 2 rows (36 stitches). Knit 10 rows. Cast off 8 stitches at the start of the next 2 rows (20 stitches remain). SHORT-ROW SHAPING THE HEAD: Decreases and angling are achieved in a manner similar to turning the heel of a sock. Knit to within 3 stitches of the end of the first row of the head. WITHOUT knitting the last 3 stitches, turn and knit to within 3 stitches of the other end. WITHOUT working the last 3 stitches, turn. (Short rows are created across the middle 14 stitches with a gap between them and a set of 3 stitches at each end.) Knit 13 stitches then knit the 14th stitch together with the first of the 3 reserved stitches at the end. Turn and knit 13 stitches then knit the 14th stitch together with the first of the 3 reserved stitches at the other end. Turn and continue as established knitting 13 stitches and then a 14th together with a reserved stitch at the end until all the reserved end stitches are used up (the 14 middle stitches remain). Go through the short-row shaping process again dividing the 14 stitches into 2 groups of 3 at each end with 8 at the center. When you have used up the reserved stitches at each end, knit the remaining 8 stitches evenly for 12 rows for the trunk. Instead of binding off, cut the yarn, leaving a good 10 inches for sewing up, and thread it through the live stitches drawing the yarn to close. First sew the front legs threading the yarn through the edge stitches to draw the ends closed. Stuff the front legs. Using the yarn you left at the trunk, sew up the trunk pulling the yarn a bit to make it curve under. Stuff the trunk. Continue sewing and stuffing the head/neck, belly, and the rear legs. Make sure legs are stuffed firmly especially where they join the body. Sew the back seam. Add a crochet chain tail tying a knot at the end and snipping so that the end forms a tuft. Sew in all ends. EARS: From the top down of the left side of the elephant's head, pick up 7 stitches from the purl ridge that is continuous with the front of the left foreleg. Knit 1 row. Knit a second row increasing 1 at the end by knitting into the front and the back of the last stitch (8 stitches). Knit 1 row. Repeat increase row (9 stitches). Knit 2 rows. Knit 2 stitches together at the start of the next row (8 stitches). Knit the next row knitting together the last 2 stitches of the row (7 stitches). Knit 2 stitches together at the start of the next row (6 stitches). Knit the next row knitting together the last 2 stitches of the row (5 stitches). Bind off and sew in the end. Repeat the process for the other ear. (optional)TUSKS: Chain 12 stitches using cotton crochet thread and a fine hook. Attach tusks to the underside of the trunk at the second line of decreases. EYES: Embroider eyes just above the second decrease line using black floss or fine yarn and pulling back sharply when pushing the needle through the head to work the second eye to form indents.

22 October 2006
peachy
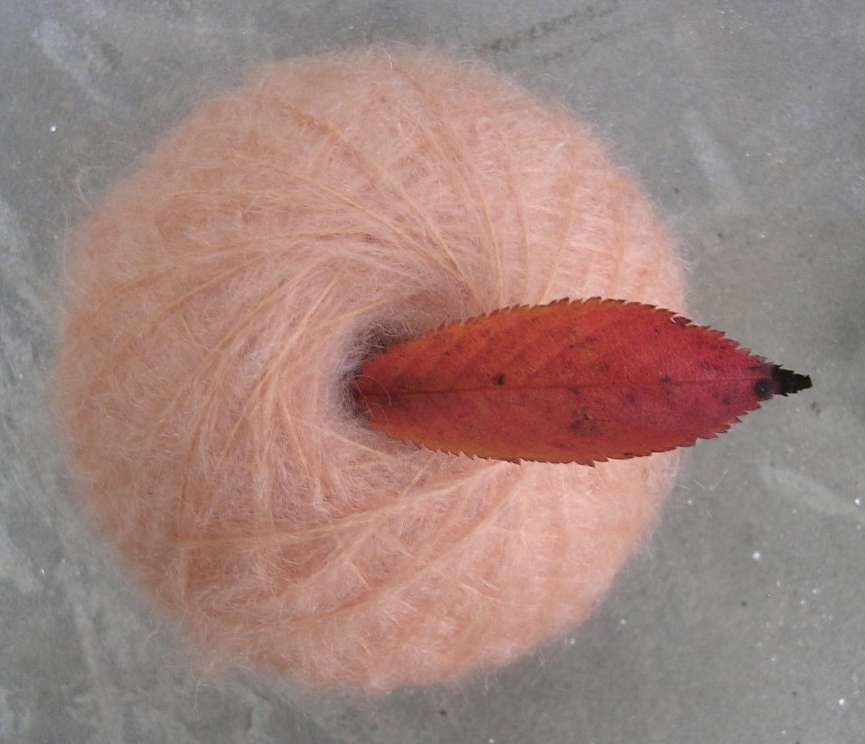 400 yards of kid mohair dyed in the madder and cutch exhaust bath
21 October 2006
autumnal
 from the left: wool/mohair dk and merino fingering weight dyed with madder and cutch; wool/mohair dk and merino fingering weight dyed with madder only
This picture shows how two yarns can take color so differently though dyed in the same bath at the same time. I love how deeply the sock yarns take color.
20 October 2006
tentative
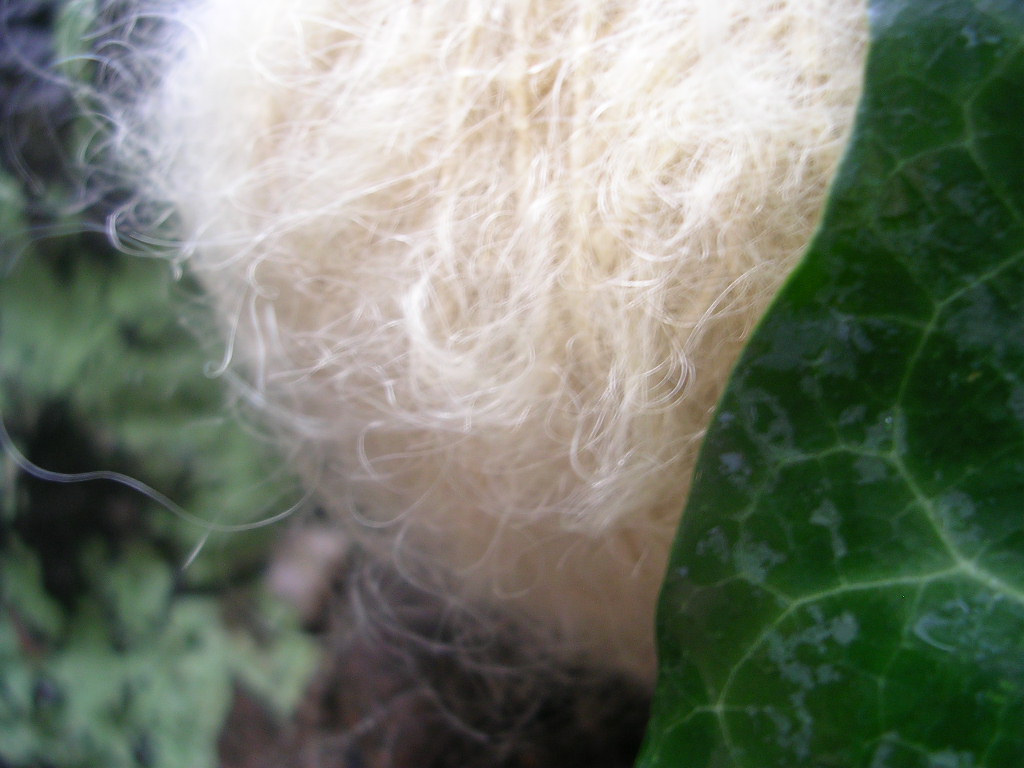 200 yards of kid mohair dyed with the ivy that grows around my house
Believe it or not, there's a beautifully subtle green in the wool.
19 October 2006
fuzzy

17 October 2006
stimuli
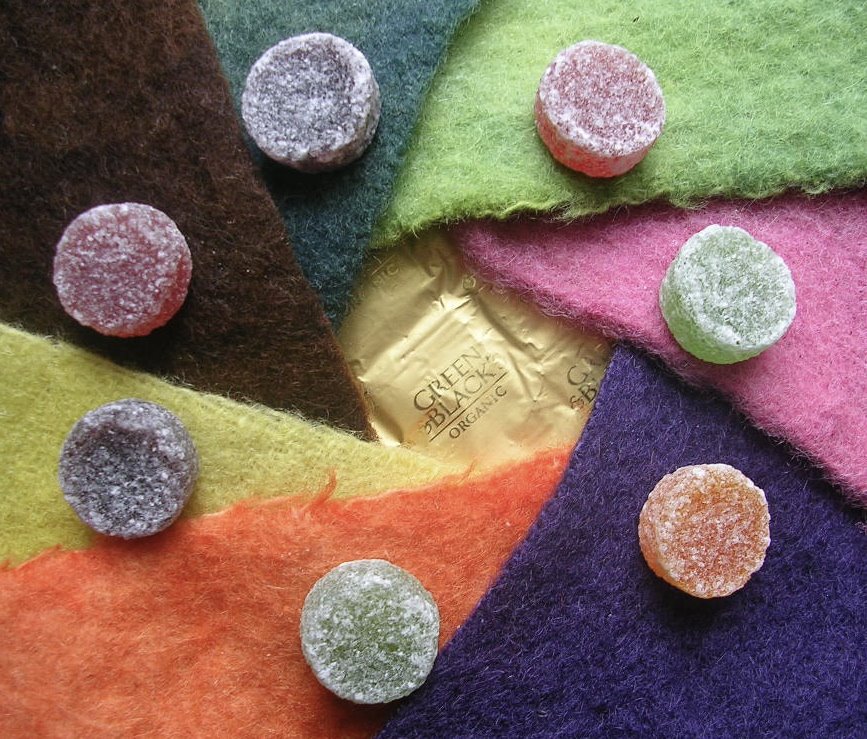 happy-making chocolate, pastilles and plant-dyed wool blanket from Echoes of a Dream
Simmy dyed this wool with (clockwise from the pink on the right) brazilwood with washing soda, logwood, madder with washing soda, marigold, walnut, indigo over goldenrod, and indigo over weld and fustic. The colors ray out from golden foil wrapping what remains of the Maya Gold Green&Black's chocolate Simmy tucked into the parcel. Okay, maybe G&B's is as good as Scharffen Berger. I'll have to taste more of it with my afternoon coffee and get back to you.
16 October 2006
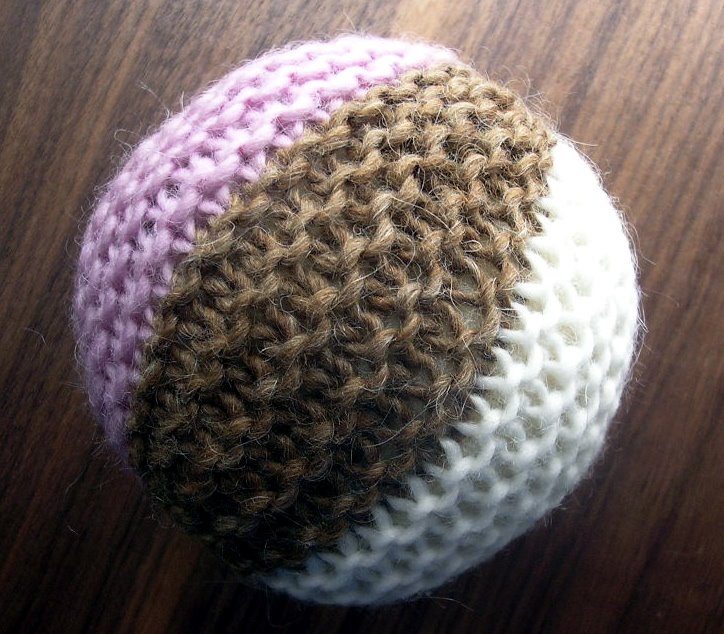
neapolitan
a stash-busting stocking stuffer

The recipe for this soft ball (great for throwing indoors) has been handed down from knitter to knitter from time immemorial and is as simple as can be. Use whatever yarn you like and needles at least one size smaller than you would usually use for that yarn. (I used Brown Sheep Lamb's Pride Worsted and size US4 needles.) CO 18 stitches. Knit every row in whatever pattern of stripes you like for 60 rows. Bind off all stitches. (Do a provisional cast on and graft the last row to the first if you want a seamless ball.)
 You don't need to sew in ends since these can be stuffed into the ball.
 After sewing (or grafting) the two short ends of the rectangle together, pick up purl bumps along one edge and pull the yarn to close one pole of the ball. Stuff the ball firmly and close the other pole the same way you closed the first. Sew in the ends. Throw the ball at the first person you see as you say, "Think fast!"
 more balls for sewing and stuffing
The recipe for this soft ball (great for throwing indoors) has been handed down from knitter to knitter from time immemorial and is as simple as can be. Use whatever yarn you like and needles at least one size smaller than you would usually use for that yarn. (I used Brown Sheep Lamb's Pride Worsted and size US4 needles.) CO 18 stitches. Knit every row in whatever pattern of stripes you like for 60 rows. Bind off all stitches. (Do a provisional cast on and graft the last row to the first if you want a seamless ball.)
 You don't need to sew in ends since these can be stuffed into the ball.
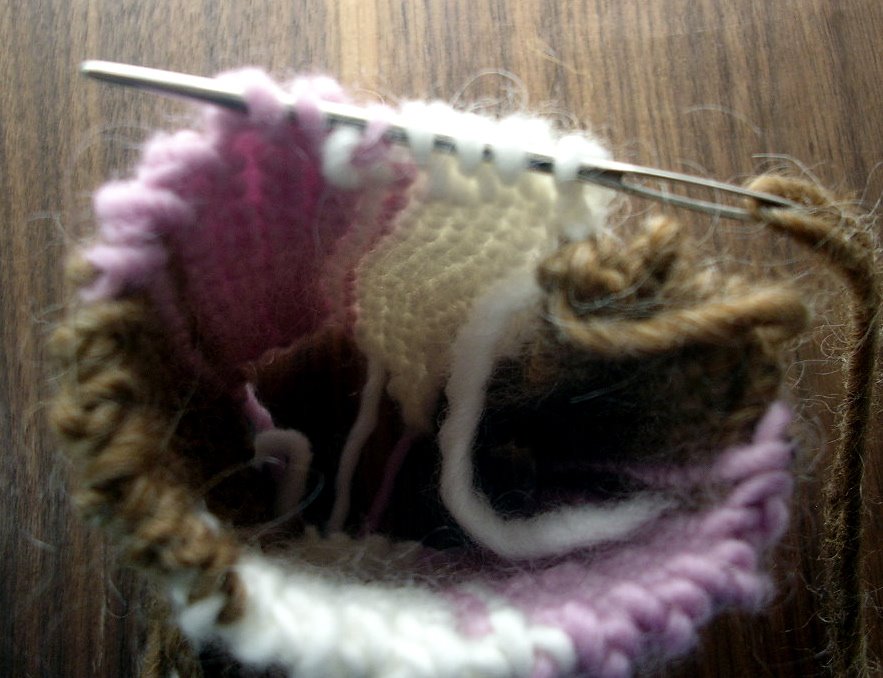 After sewing (or grafting) the two short ends of the rectangle together, pick up purl bumps along one edge and pull the yarn to close one pole of the ball. Stuff the ball firmly and close the other pole the same way you closed the first. Sew in the ends. Throw the ball at the first person you see as you say, "Think fast!"
 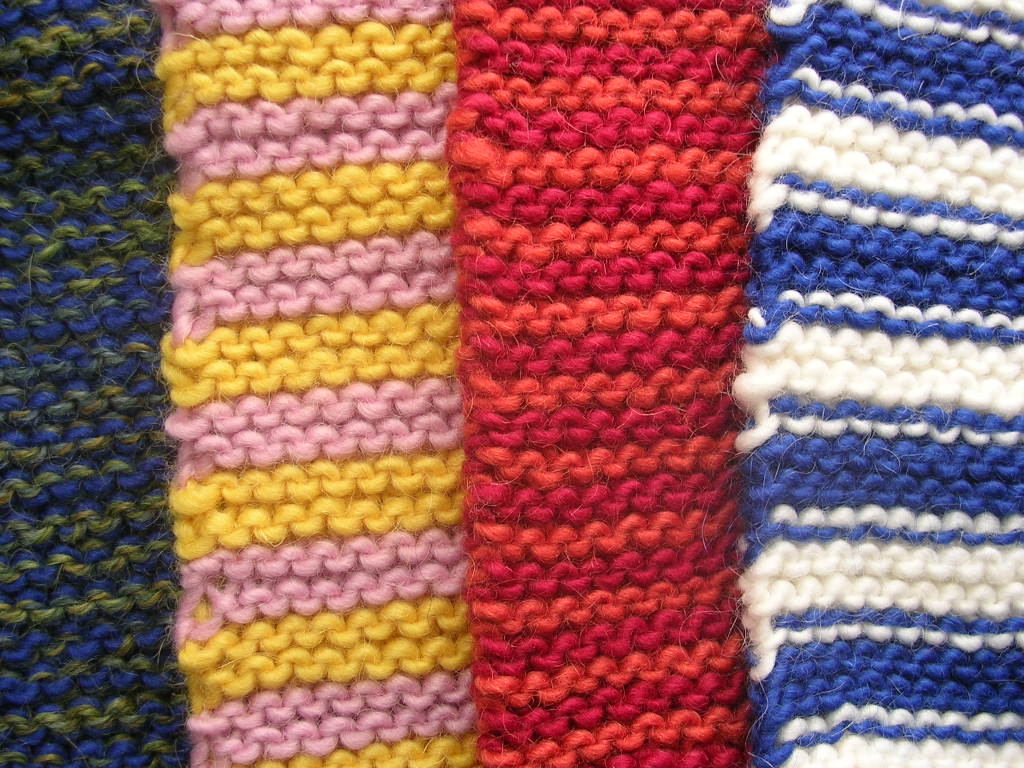 more balls for sewing and stuffing
14 October 2006
turmeric
good outside and in
 yarn steeped in turmeric
 turmeric tea
The yarn was dyed with turmeric by the handwork teacher at my son's school who followed Jenny Dean's instructions in Wild Color. The actual color is more than a little brassy and that doesn't show in this photo. I took the hank home to overdye it with indigo when I set up my vat in a few weeks.
For tea, I put a tablespoon of ground turmeric and about two teaspoons of grated fresh ginger into a heatproof bowl and cover the mixture with about a quart of boiling water. I let that stand for at least five minutes and then strain it into a container I can keep in the refrigerator. Whenever I want a cup of the tea I mix a half cup of the steeped turmeric/ginger with a half cup of boiling water, a teaspoon of honey and a squeeze of lemon (and sometimes a small pinch of cayenne pepper).
13 October 2006
a la mode
 serving suggestion
This is over seven pounds of wool (two weights of sock wool, laceweight wool and merino, dk weight wool and mohair, and fine kid mohair) that I will dye with roots, barks, flowers and bugs and sell at The Winter Fair at the Waldorf School of Philadelphia on November 17th and 18th. Philadelphia area knitters save the dates. Details and pictures of the finished yarns to follow.
11 October 2006
archaeologie
a crocheted baby cardigan dip-dyed with black walnut husks, cutch and logwood and embellished with madder dyed wool
 MATERIALS: five skeins Knit Picks' Merino Style in Vanilla and one each of Fog, Nutmeg, and Cornflower, six naturally shed antler buttons & recycled madder dyed yarn for embroidered details
PATTERN: Lesley Stanfield's Icelandic Cardigan from Adorable Crochet for Babies and Toddlers
NOTES: I substituted Merino Style for the Jaeger yarn called for in the pattern. Comparing ballbands, it looks like MS is an ideal substitute yard for yard, by weight and by gauge, but I found I needed two more skeins of the main color than were specified in the pattern. I was really unhappy about the too-bright purple cast of the Cornflower. The black walnuts came to the rescue. After soaking the sweater in water for a half hour or so, I put it in the pot of extracted dye and turned the heat on low. I let the piece simmer in there for about five minutes and then left it in the pot all night. I didn't like how that turned out, so I added alum, cutch and logwood to the pot, let the sweater come up to a simmer for 20 minutes and left it to cool overnight in the pot. I can tell whether wool is the color I want by squeezing one part of it right over the dyepot. Though the final color once the piece has dried will be lighter than what you see, you can get a pretty good idea of what you'll get this way.
This is not an EZ pattern, but I think the finished sweater looks like it was pulled from a bog. I searched for information on the web to back up this claim, but came away instead with the realization that my son takes after his father's side of the family. the undyed yoke
 MATERIALS: five skeins Knit Picks' Merino Style in Vanilla and one each of Fog, Nutmeg, and Cornflower, six naturally shed antler buttons & recycled madder dyed yarn for embroidered details
PATTERN: Lesley Stanfield's Icelandic Cardigan from Adorable Crochet for Babies and Toddlers
NOTES: I substituted Merino Style for the Jaeger yarn called for in the pattern. Comparing ballbands, it looks like MS is an ideal substitute yard for yard, by weight and by gauge, but I found I needed two more skeins of the main color than were specified in the pattern. I was really unhappy about the too-bright purple cast of the Cornflower. The black walnuts came to the rescue. After soaking the sweater in water for a half hour or so, I put it in the pot of extracted dye and turned the heat on low. I let the piece simmer in there for about five minutes and then left it in the pot all night. I didn't like how that turned out, so I added alum, cutch and logwood to the pot, let the sweater come up to a simmer for 20 minutes and left it to cool overnight in the pot. I can tell whether wool is the color I want by squeezing one part of it right over the dyepot. Though the final color once the piece has dried will be lighter than what you see, you can get a pretty good idea of what you'll get this way.
This is not an EZ pattern, but I think the finished sweater looks like it was pulled from a bog. I searched for information on the web to back up this claim, but came away instead with the realization that my son takes after his father's side of the family.
 the undyed yoke
06 October 2006
o la la
 the perfect embellishment
When after seeing her bag-to-be in an earlier post Cheryl suggested a special button for the center of the embroidered "o", I thought immediately of Moving Mud whose buttons I saw for the first time at the Maryland Sheep and Wool Festival in May. I spent more time at Sarina Gulisano's booth than I did in all the yarn booths where I stopped. I wanted to learn how to blow glass. Short of that, I wanted every button I saw. I settled on two (more on those later). I sent an email including a link to the bag and asked Sarina to pick out a button to go with it. She wrote back that she would make one! This beautiful object arrived about a week later. Thanks, Sarina.
Did I mention that the bag took a soak in the black walnut pot?
05 October 2006
chill
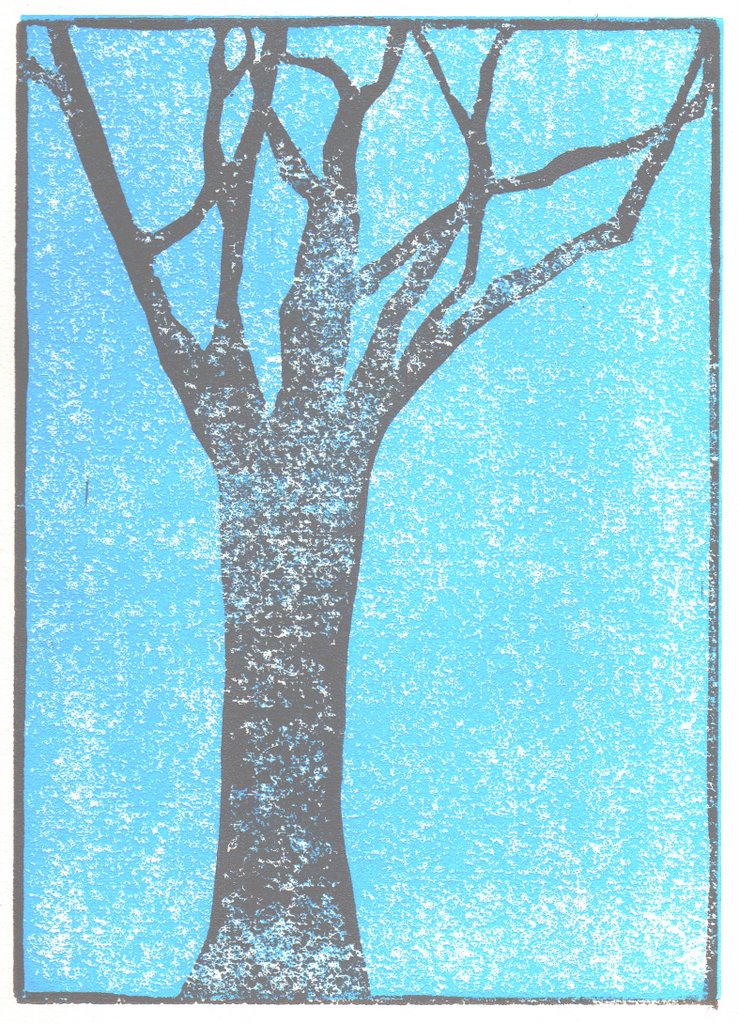 Searching for yarn to finish something that will go into the black walnut pot, I came across this linoleum print I made a few years ago. I make linoleum print cards every year for Christmas and it's almost time to get out a block and gouge out this year's image. If you've never tried block printing, I recommend Gwen Diehn's Simple Printmaking; it's an introductory book that can take an adult from concept to print and that includes ideas for getting children involved in the process. I use linoleum mounted on particle board blocks, Fabriano paper, Speedball water-based inks, acrylic paints, and sets of inexpensive Japanese gouges--all of which can be found at most art supply shops.
04 October 2006
spectrum
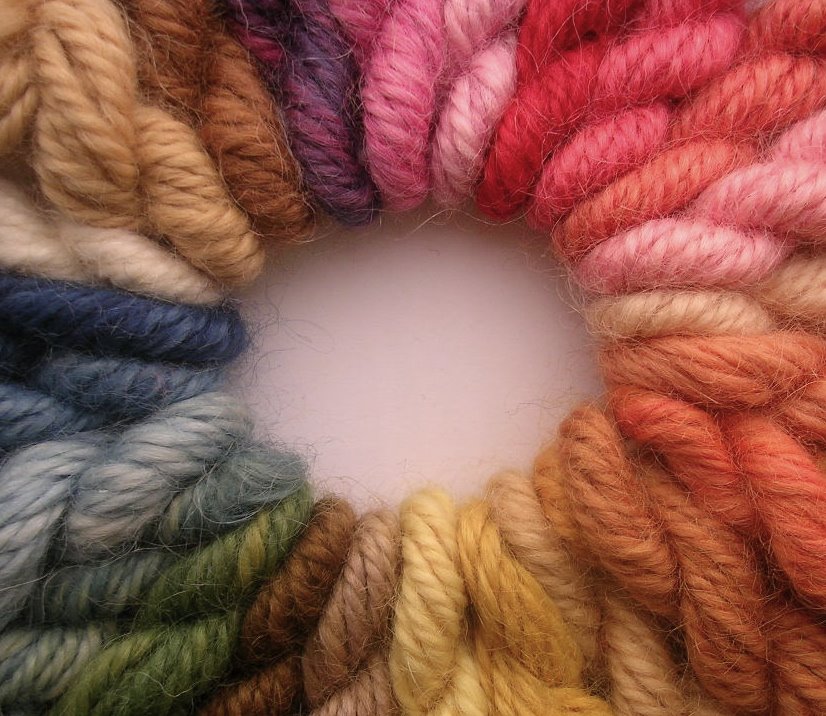 a palette of yarns dyed with barks, roots, petals, leaves, husks and bugs
![]()
