
14 April 2011
talkoot
gathering talents
Somewhere along the way, our barn raising quilt became something wildly unique thanks to the efforts of good sport newbies and experienced parent knitters alike and to the brilliantly scrappy inventiveness of Gretchen Wright, Ilka Cassidy, and Lucy Martinez-Zuviria.
This quilt is so much more than the sum of its parts: hand-knit sock yarn squares, repurposed sweater scraps embellished with embroidery and crochet, a cotton backing "tied" with crazy little crochet motifs. True alchemy.
My darling 7th grade students posing with the quilt are not up for raffle. They're all mine until June 2012. However, if you'd like a chance to win this marvelous quilt, get your tickets HERE.

Thanks to Kim Soles for sweater pickings and for these glamor shots! If you're in the Philadelphia area stop in at Wine Thief bistro in Mt. Airy to see Kim's latest series of nature photographs (and have dinner, too because it's the best place to eat in Mt. Airy/Chestnut Hill).
UPDATE: Many thanks to everyone who bought tickets! The winning ticket belonged to a neighbor of a school parent. Congratulations, Nancy H!!!

Somewhere along the way, our barn raising quilt became something wildly unique thanks to the efforts of good sport newbies and experienced parent knitters alike and to the brilliantly scrappy inventiveness of Gretchen Wright, Ilka Cassidy, and Lucy Martinez-Zuviria.
This quilt is so much more than the sum of its parts: hand-knit sock yarn squares, repurposed sweater scraps embellished with embroidery and crochet, a cotton backing "tied" with crazy little crochet motifs. True alchemy.
My darling 7th grade students posing with the quilt are not up for raffle. They're all mine until June 2012. However, if you'd like a chance to win this marvelous quilt, get your tickets HERE.

Thanks to Kim Soles for sweater pickings and for these glamor shots! If you're in the Philadelphia area stop in at Wine Thief bistro in Mt. Airy to see Kim's latest series of nature photographs (and have dinner, too because it's the best place to eat in Mt. Airy/Chestnut Hill).
UPDATE: Many thanks to everyone who bought tickets! The winning ticket belonged to a neighbor of a school parent. Congratulations, Nancy H!!!


18 February 2007
scrappy
a hybrid baby blanket
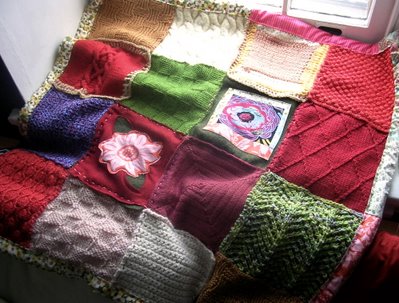 Using pink dishcloth cotton yarn and a tapestry needle, I joined a collection of knit and felted blocks with running stitch. I made decisions about overlapping edges as I went along.
 Some blocks required backing and I hit on the idea of reverse appliqued leaves for this flower I machine stitched here. The block to the left was my first block for Stitch Marker's Squarealong that ended up too big. I machine quilted it to a block I cut from a thrifted sweater.
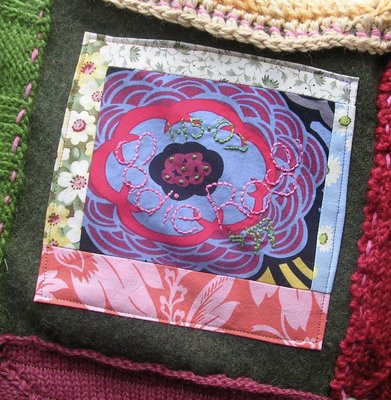 I embroidered the baby's name onto a log cabin patch for this block.
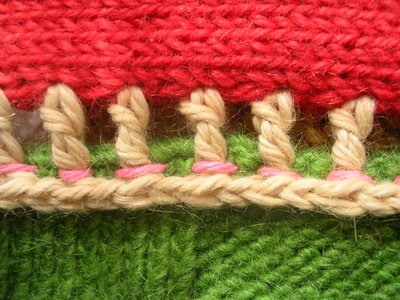 I just loved this detail.
TIPS AND VISUAL AIDS FOR BINDING A KNITTED BLANKET WITH FABRIC: For my 1.5" binding I cut and pieced 5" wide strips of fabric, pressing open the seams between pieces. I folded the strip in half and pressed it and then folded each long side toward the fold, pressing and measuring to make certain my the binding measured 1.5" wide.
 Starting in the middle of one side of the blanket, I tucked the blanket edge into the binding as you see below. (I didn't use pins since the binding and blanket required constant tucking and adjusting.)
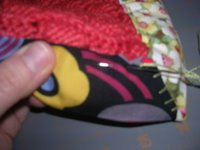 I used a simple running stitch of DMC perle cotton. (Sorry about the blur.)
 When I got to within 1.5" of a corner, I tucked the binding around it and pinned.
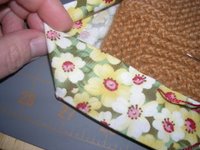
 First I pulled the binding to form a crisp corner (top photo) and then I folded it down to form the miter. I pinned that miter and then turned the blanket over and formed a miter on the other side.
 I embroidered through all layers to secure the corners.
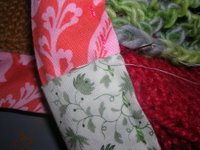 When I got to the end of the binding, I folded the raw edge in and used thread and a blind stitch to finish.
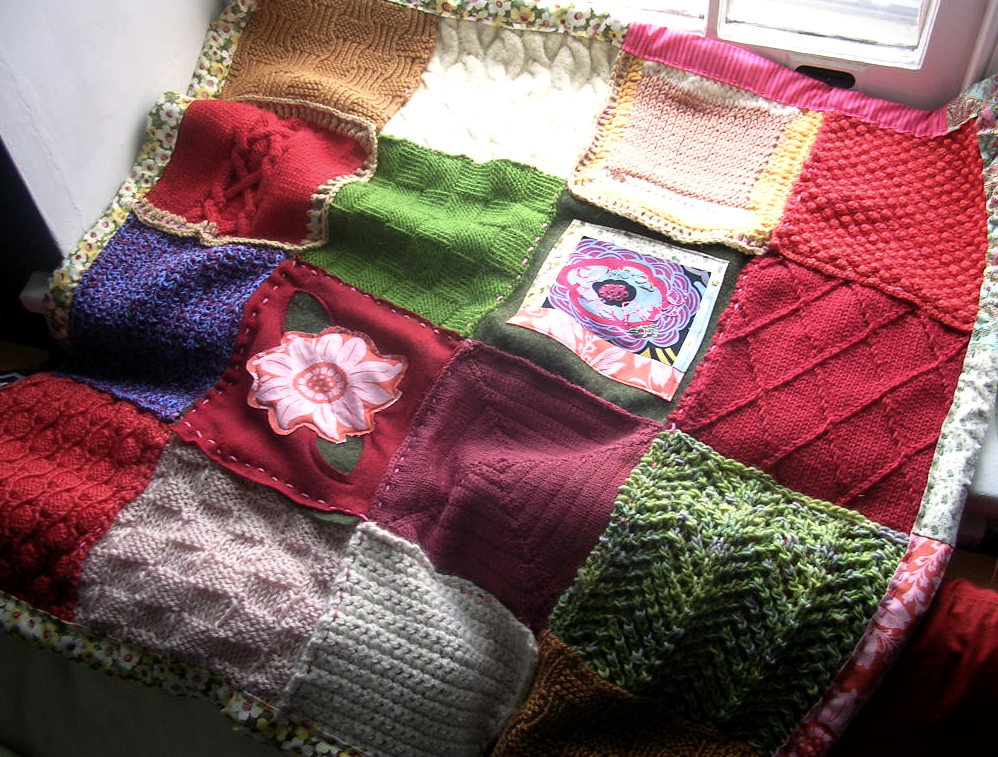 Using pink dishcloth cotton yarn and a tapestry needle, I joined a collection of knit and felted blocks with running stitch. I made decisions about overlapping edges as I went along.
 Some blocks required backing and I hit on the idea of reverse appliqued leaves for this flower I machine stitched here. The block to the left was my first block for Stitch Marker's Squarealong that ended up too big. I machine quilted it to a block I cut from a thrifted sweater.
 I embroidered the baby's name onto a log cabin patch for this block.
 I just loved this detail.
TIPS AND VISUAL AIDS FOR BINDING A KNITTED BLANKET WITH FABRIC: For my 1.5" binding I cut and pieced 5" wide strips of fabric, pressing open the seams between pieces. I folded the strip in half and pressed it and then folded each long side toward the fold, pressing and measuring to make certain my the binding measured 1.5" wide.
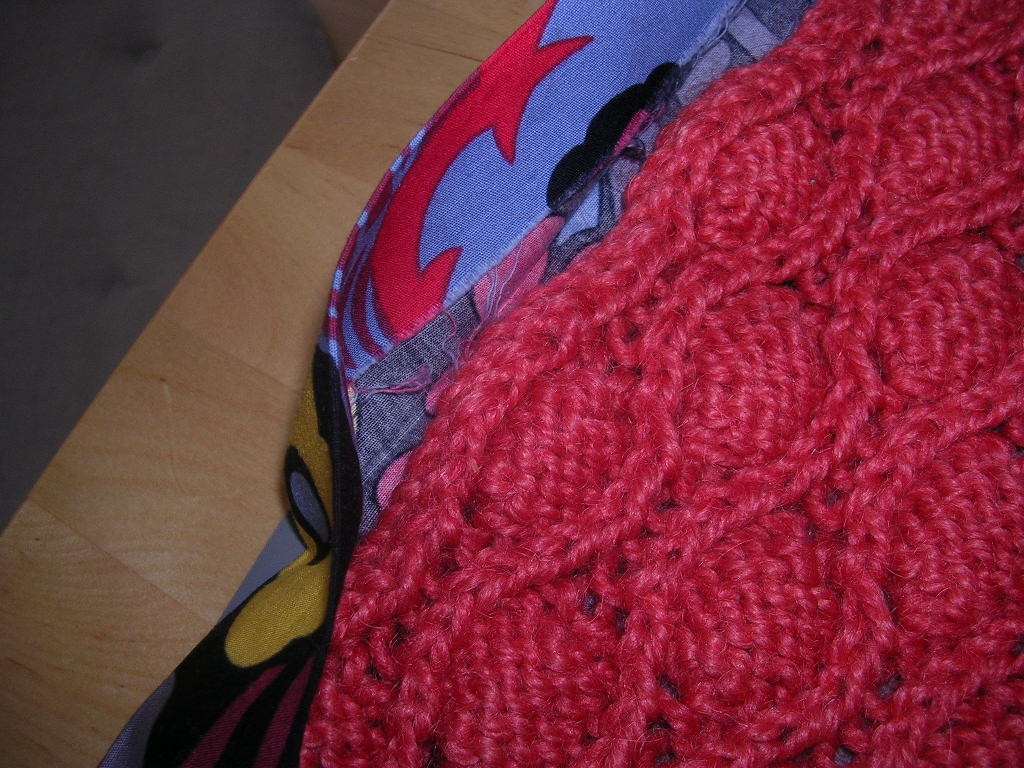 Starting in the middle of one side of the blanket, I tucked the blanket edge into the binding as you see below. (I didn't use pins since the binding and blanket required constant tucking and adjusting.)
 I used a simple running stitch of DMC perle cotton. (Sorry about the blur.)
 When I got to within 1.5" of a corner, I tucked the binding around it and pinned.
 First I pulled the binding to form a crisp corner (top photo) and then I folded it down to form the miter. I pinned that miter and then turned the blanket over and formed a miter on the other side.
 I embroidered through all layers to secure the corners.
 When I got to the end of the binding, I folded the raw edge in and used thread and a blind stitch to finish.
